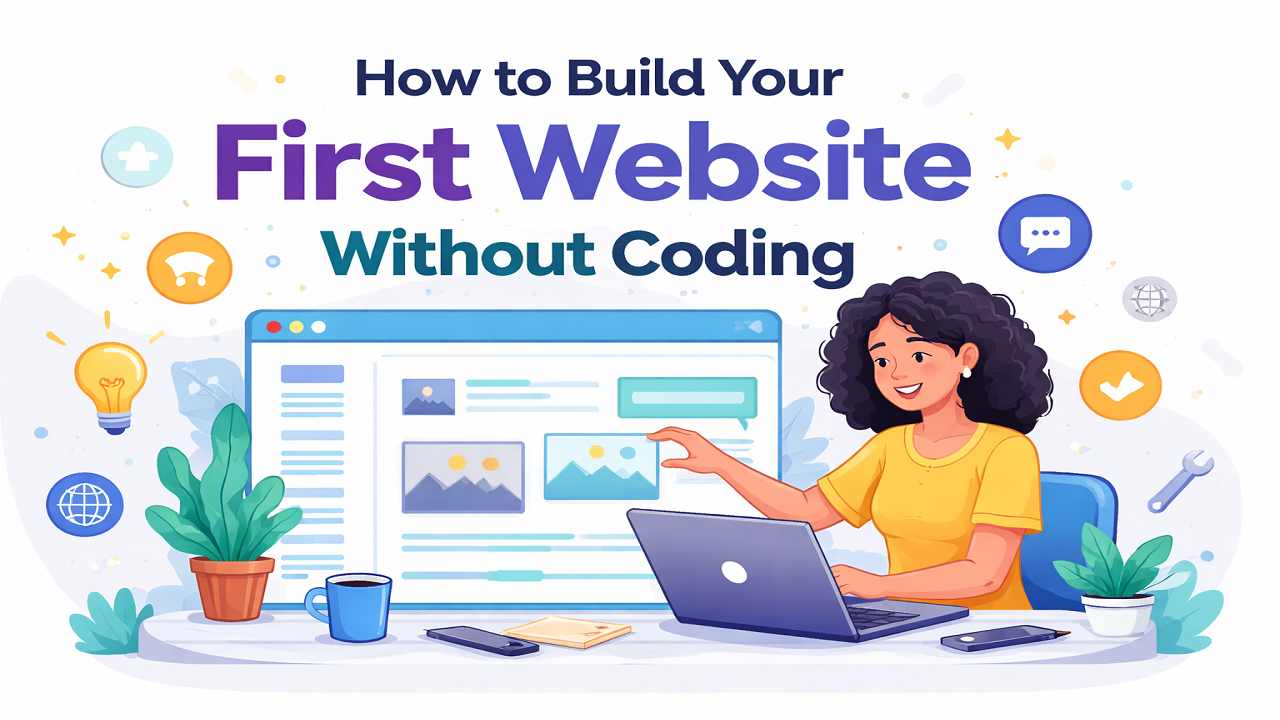
Building a website used to require learning programming languages like HTML, CSS, and JavaScript. Today, that’s no longer the case. With modern no-code tools, anyone can create a professional-looking website—whether it’s for a business, portfolio, blog, or online store—without writing a single line of code.
This guide walks you through everything you need to know to launch your first website from scratch.
1. Understand Your Website’s Purpose
Before you start building, get clear on why you want a website. This will guide your design and content decisions.
Ask yourself:
- Is this a personal blog, portfolio, or business site?
- Do I want to sell products or services?
- What action should visitors take? (contact you, buy, subscribe, etc.)
Having a clear goal makes everything else easier.

2. Choose a No-Code Website Builder
No-code website builders are platforms that let you create websites using drag-and-drop tools.
Popular options:
- Wix – Very beginner-friendly with lots of design flexibility
- Squarespace – Great for clean, modern designs
- WordPress.com – Ideal for blogging and content-heavy sites
- Shopify – Best for e-commerce stores
What to look for:
- Ease of use
- Templates you like
- Pricing
- Features (blogging, e-commerce, SEO tools)
3. Pick a Domain Name
Your domain name is your website’s address (e.g., www.yourname.com). Check out our site’s address on which you are now, it is www.triumphtimes.com.
Tips for choosing a good domain:
- Keep it short and easy to remember
- Avoid numbers and hyphens
- Make it relevant to your brand or niche
- Use common extensions like
.com,.co, or.org
Most website builders let you purchase a domain directly from their platform.
4. Select a Template or Theme
Templates are pre-designed website layouts that you can customize.
How to choose:
- Pick a design that matches your purpose
- Look for mobile responsiveness
- Keep it simple—avoid cluttered layouts
Don’t worry about perfection—you can always change it later.
5. Customize Your Website
Now comes the fun part—making the website yours.
Key elements to edit:
- Text: Replace placeholder content with your own
- Images: Use high-quality photos (your own or stock images)
- Colors & Fonts: Match your brand identity
- Layout: Adjust sections using drag-and-drop tools
Essential pages to include:
- Home – Overview of what you offer
- About – Your story or brand background
- Services/Products – What you provide
- Contact – How people can reach you
- Blog (optional) – For sharing content and improving SEO

6. Add Important Features
Most builders allow you to add features with just a few clicks.
Useful features:
- Contact forms
- Social media links
- Image galleries
- Booking systems
- Online store (if selling products)
7. Optimize for Mobile
A large percentage of visitors will view your site on their phones.
Check:
- Does everything resize properly?
- Is the text readable?
- Are buttons easy to tap?
Most platforms have a mobile preview mode—use it.
8. Basic SEO Setup
SEO (Search Engine Optimization) helps people find your website on search engines.
Simple steps:
- Use clear page titles (e.g., “Photography Services in Kigali”)
- Write short descriptions for each page
- Include keywords naturally in your content
- Add alt text to images
You don’t need to be an expert—just cover the basics.
9. Preview and Test Your Website
Before publishing, review everything carefully.
Check for:
- Spelling and grammar errors
- Broken links
- Slow-loading images
- Missing information
Ask a friend to test it—they may notice things you missed.
10. Publish Your Website
Once you’re satisfied, hit the publish button. 🎉
Your website is now live!
11. Keep Improving
A website is never truly “finished.”
Ongoing improvements:
- Update content regularly
- Add blog posts
- Improve design over time
- Monitor traffic and user behavior

Final Thoughts
Building your first website without coding is not only possible—it’s easier than ever. The key is to start simple, focus on your goals, and improve as you go.
Don’t wait for perfection. Launch your site, learn from the process, and evolve it over time.
Your online presence starts with that first step.